
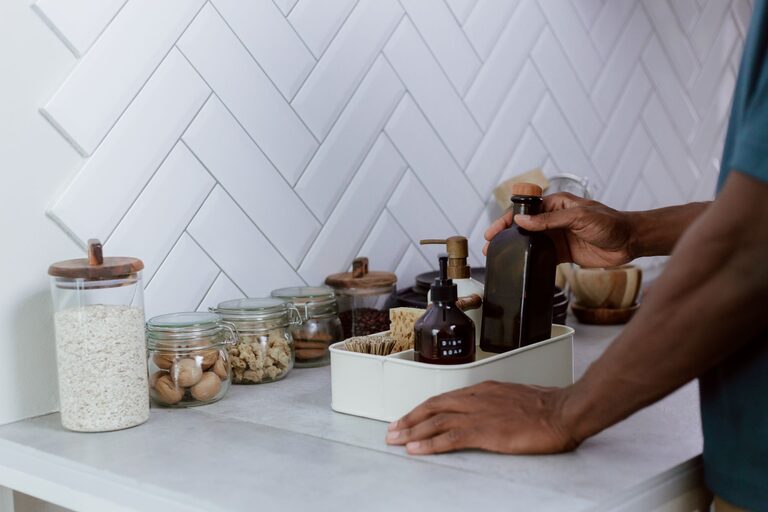
Keeping your kitchen counters clutter-free can transform the heart of your home into a welcoming, efficient, and enjoyable space. A tidy kitchen not only looks great but also makes cooking, cleaning, and entertaining much easier. If clutter tends to pile up on your counters, don’t worry—there are practical steps you can take to create a more organized kitchen. In this post, we’ll explore simple ways to keep your kitchen counters clean, clear, and clutter-free.
Why Keep Your Kitchen Counters Clutter-Free?
Before diving into tips, it’s helpful to understand why maintaining clear countertops is beneficial:
– More workspace: Free counters give you plenty of room for prepping meals.
– Easier to clean: With fewer items in the way, wiping down surfaces is quick and efficient.
– Reduced stress: A clear kitchen feels calm and inviting.
– Improved safety: Fewer objects means less chance of accidents like spills or breakage.
– Enhanced aesthetics: A tidy countertop makes your kitchen look neat and well-kept.
Step 1: Declutter and Sort
The first step toward clutter-free counters is to remove everything and decide what stays:
Clear Everything Off
– Take all items off your countertops.
– Group them by category: appliances, utensils, food, decor, and miscellaneous.
Assess Each Item
Ask yourself:
– Do I use this daily or weekly?
– Does this belong on the counter, or can it be stored elsewhere?
– Is it in good condition or should it be discarded or donated?
Keep Only Essentials
– Limit countertop appliances to those you use often, such as a coffee maker or toaster.
– Store infrequently used appliances in cabinets or pantry shelves.
– Avoid keeping multiple similar items out—choose one or two favorites.
Step 2: Optimize Storage Solutions
Smart storage reduces countertop clutter by giving items a proper place to live.
Utilize Cabinets and Drawers Fully
– Use drawer organizers to keep utensils and kitchen tools neat.
– Install pull-out shelves or lazy Susans for hard-to-reach cabinet corners.
– Store rarely used items higher up, and daily essentials at eye level.
Add Vertical Storage
Counter space isn’t the only option; vertical storage can free up surfaces:
– Use wall-mounted racks or magnetic strips for knives and utensils.
– Hang pots, pans, or mugs from hooks under cabinets or on walls.
– Consider shelf risers or tiered organizers inside cabinets.
Use Storage Containers and Bins
– Store dry goods in clear, labeled containers within cupboards or pantry.
– Use baskets or bins to group smaller items like spices, snacks, or kitchen gadgets.
– Keep countertop jars minimal and tidy—choose attractive containers for items like frequently used utensils or coffee pods.
Step 3: Create Designated Zones
Assign specific areas for different activities or items. This helps maintain order and makes it clear where things belong.
Examples of zones:
– Prep zone: Near the sink and stove with knives, cutting boards, and mixing bowls.
– Coffee or tea station: A small area housing your coffee maker, mugs, and related supplies.
– Baking station: With measuring cups, mixing bowls, and baking ingredients grouped together.
– Cleanup zone: Close to the sink with soap, sponges, and dishwasher detergent.
Step 4: Maintain Cleanliness Daily
Even a perfectly organized kitchen can fall into clutter if you don’t keep up with daily habits.
Quick Daily Routines
– Put away items immediately after use.
– Wipe down surfaces each day to keep them inviting.
– Regularly toss expired food and trash from countertop bins.
– Keep a small basket for stray items and return them to their spots nightly.
Weekly Deeper Clean
– Clean appliances and fixtures.
– Check and reorganize storage as needed.
– Clear out anything that doesn’t belong or isn’t used.
Step 5: Mindful Purchasing and Decor
Be thoughtful about what you bring into your kitchen:
– Avoid buying gadgets or decor that will crowd your space.
– Choose multipurpose tools to reduce the number of items needed.
– Select minimal and functional decor to enhance aesthetics without clutter.
Bonus Tips for Small Kitchens
If space is tight, try these additional tricks:
– Use foldable or rolling carts that can be stored when not in use.
– Install under-cabinet lighting to make the area feel more open.
– Choose slim appliances designed for smaller spaces.
– Keep countertops clear for as long as possible by storing appliances elsewhere.
—
By following these steps—decluttering, optimizing storage, creating zones, and maintaining routines—you can enjoy a kitchen that feels spacious, tidy, and ready for any culinary adventure. A clutter-free kitchen counter is not only practical but also invites you to spend more time cooking and sharing meals with loved ones. Start with one step today, and watch your kitchen transform!